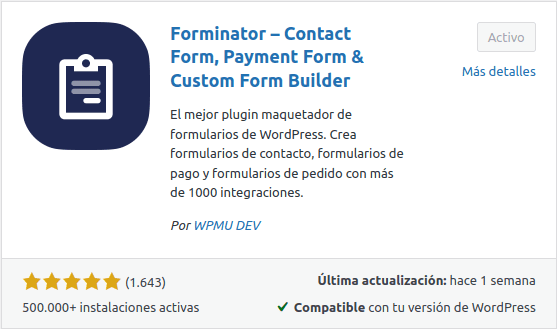
In WordPress, when we need a plugin for form management, we talk about Contact Form 7, WP Forms, Ninja Forms, but you might not be familiar with Forminator.
“It’s not the typical form creation plugin.” Forminator is the easy-to-use WordPress form layout plugin for every website and situation. It’s the easiest way to create any form: contact form, order form, payment form, email form, comment widgets, interactive surveys with real-time results, Buzzfeed-style quizzes with “no wrong answers,” service estimators, and registration forms with payment options including PayPal and Stripe.
Installation
From our Worpdress panel> Plugins > Add plugin. We will use the search engine by inserting Forminator.
Configuration
We can modify the plugin settings in WordPress > Forminator.
If we use this plugin over the others, it’s because it has practically everything in its free version.
We are going to go through the process of creating a basic form, discussing configuration and customization adjustments that we can make along the way.
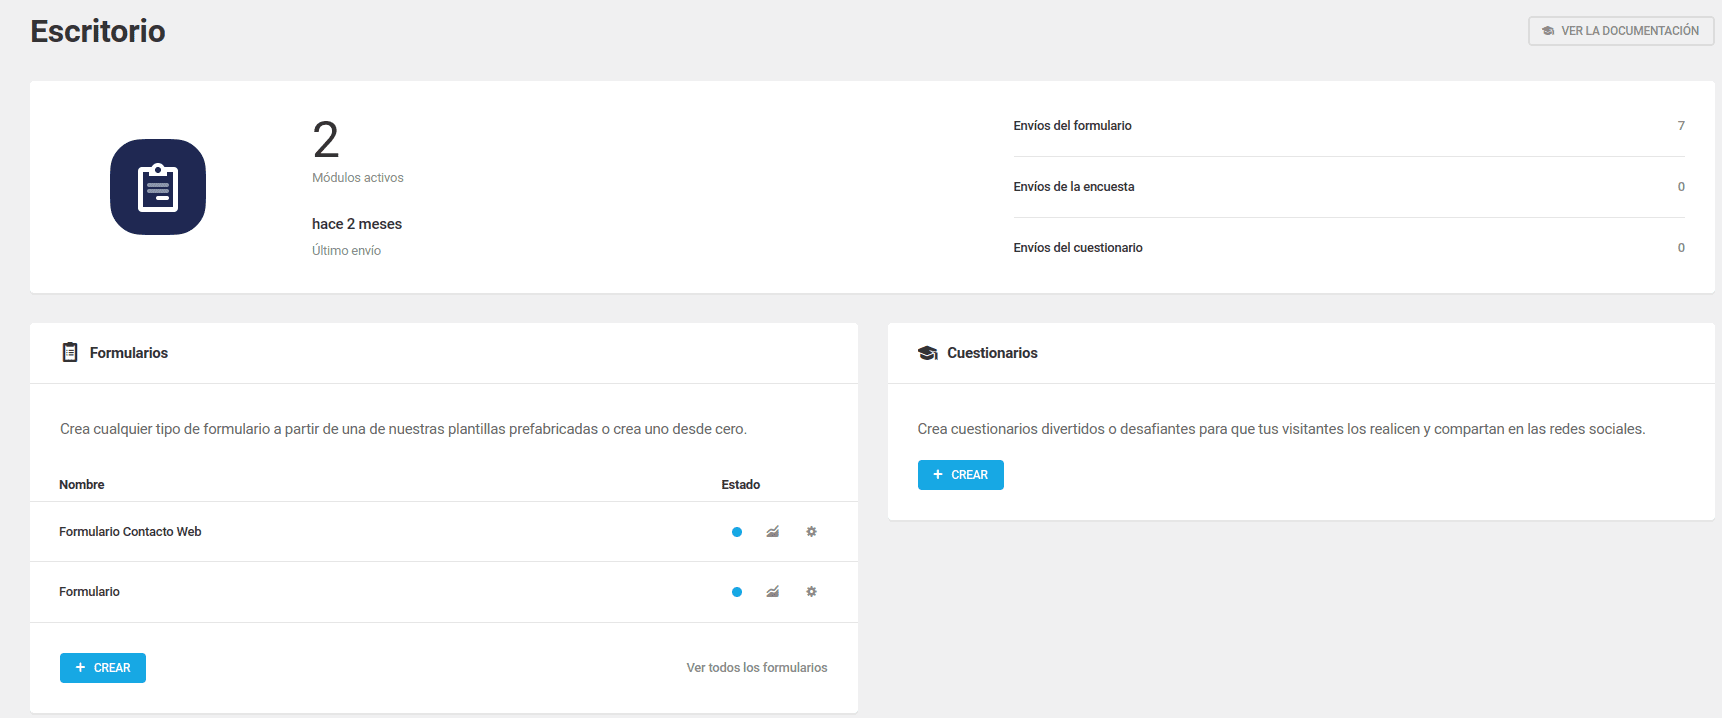
1. The first step will be to access the plugin from the sidebar and on the Desktop, we look for the [+ Create] button in the Forms area.
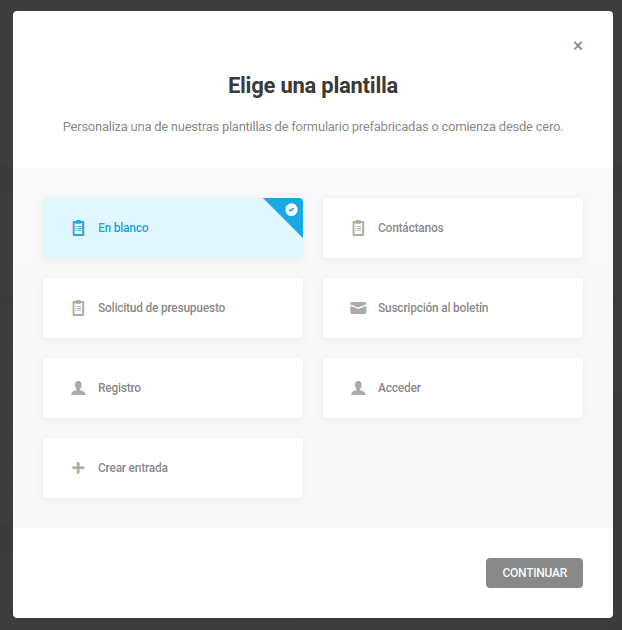
2. A menu will be shown to us to choose from various pre-designed templates, although we are going to do it from scratch, field by field.
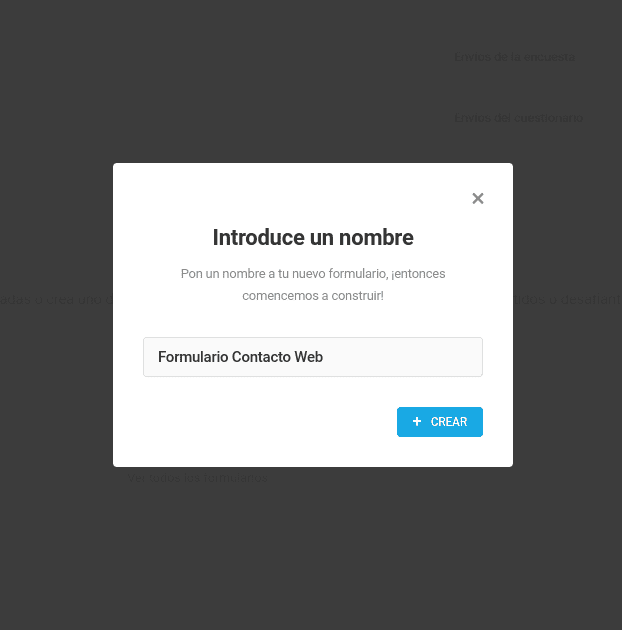
3. We will name our form.
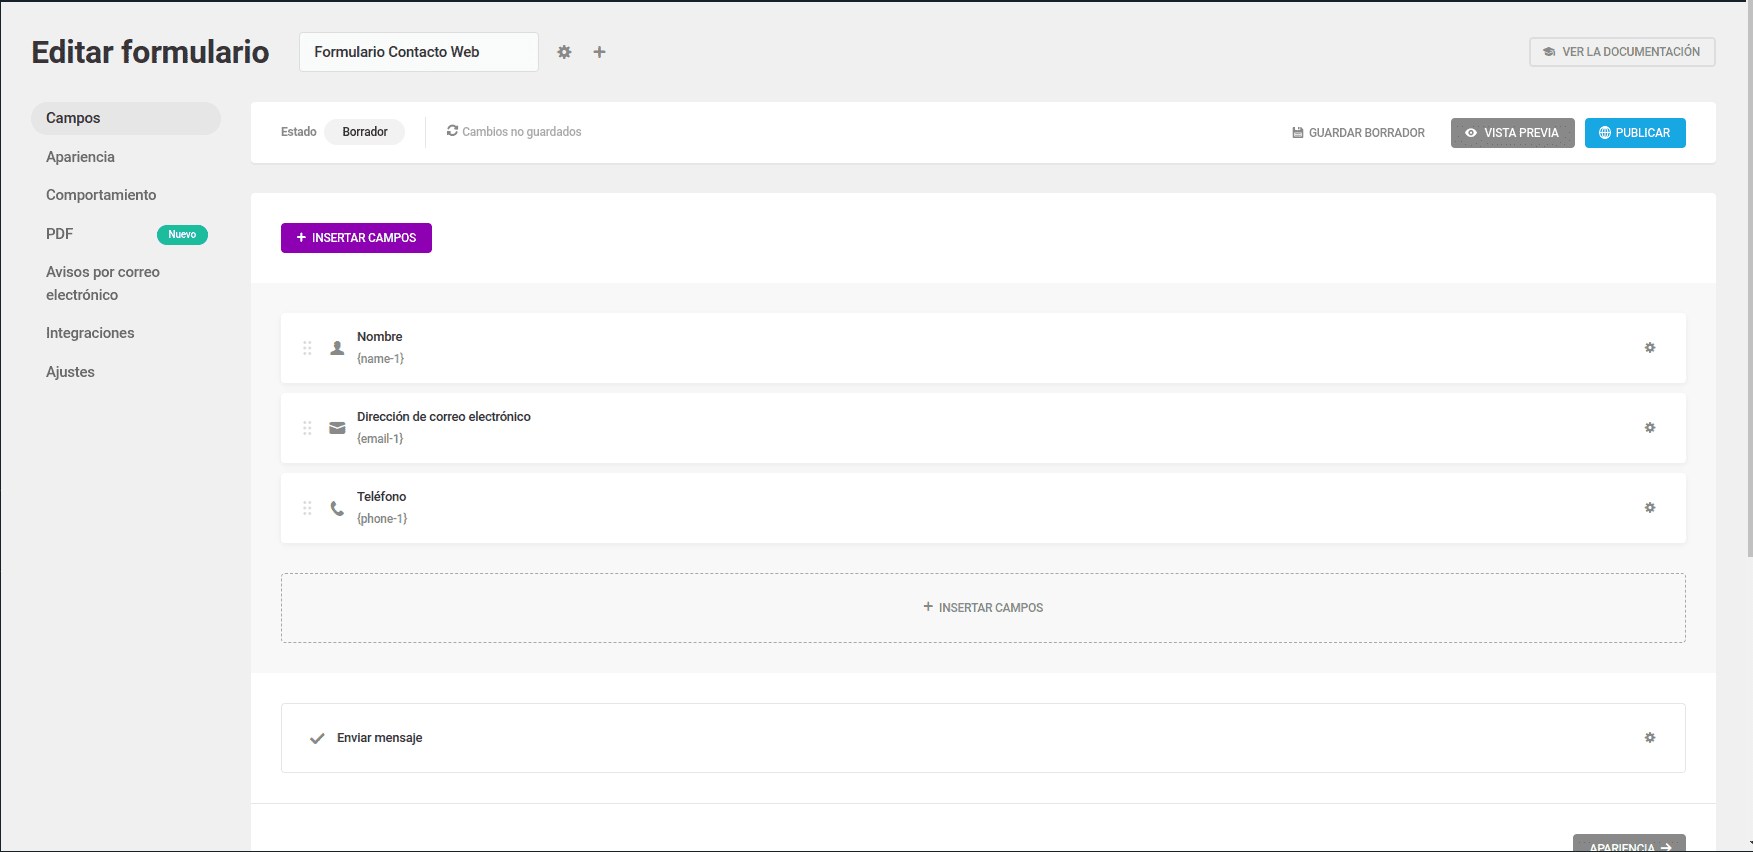
Within the form, we have some well-defined sections where we can see:
Form name
Form status and saved
Form fields
Sidebar with form submenus
To insert fields, we will click on the button [+ INSERT FIELDS]
We will mark the fields we want to add to our form.
This is how the list of fields we have added would look.
Through its graphical interface, we can drag the fields to reorder them, and we can even place more than one field in the same row.
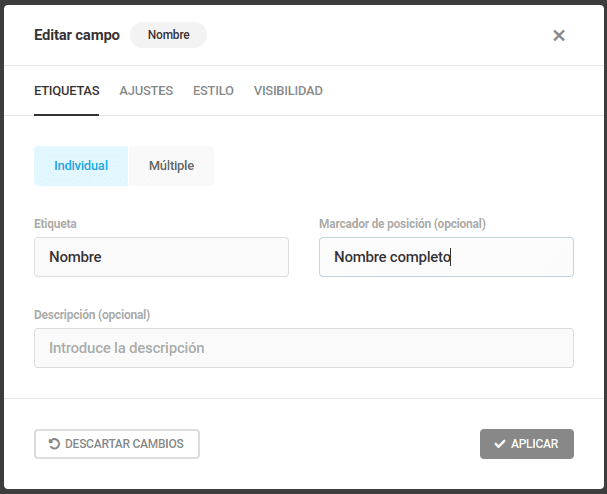
By clicking on any of the fields, we can modify what we see below.
Field label, placeholder, Description.
Label: It’s the field that appears above the field/input.
Placeholder: It is the text displayed within the field as an example/explanation.
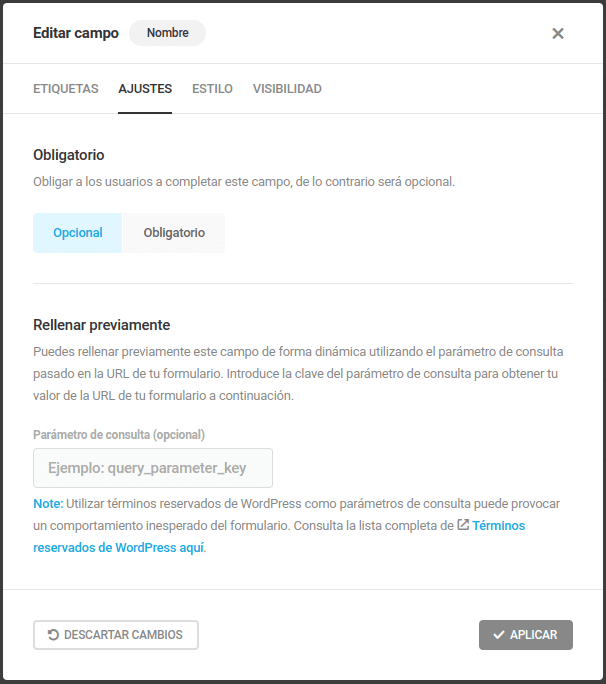
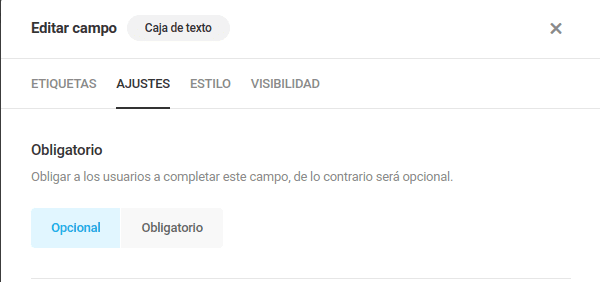
In the Settings tab, we can select whether the field will be optional/mandatory or if we want to pre-fill it (we’ll see this further down).
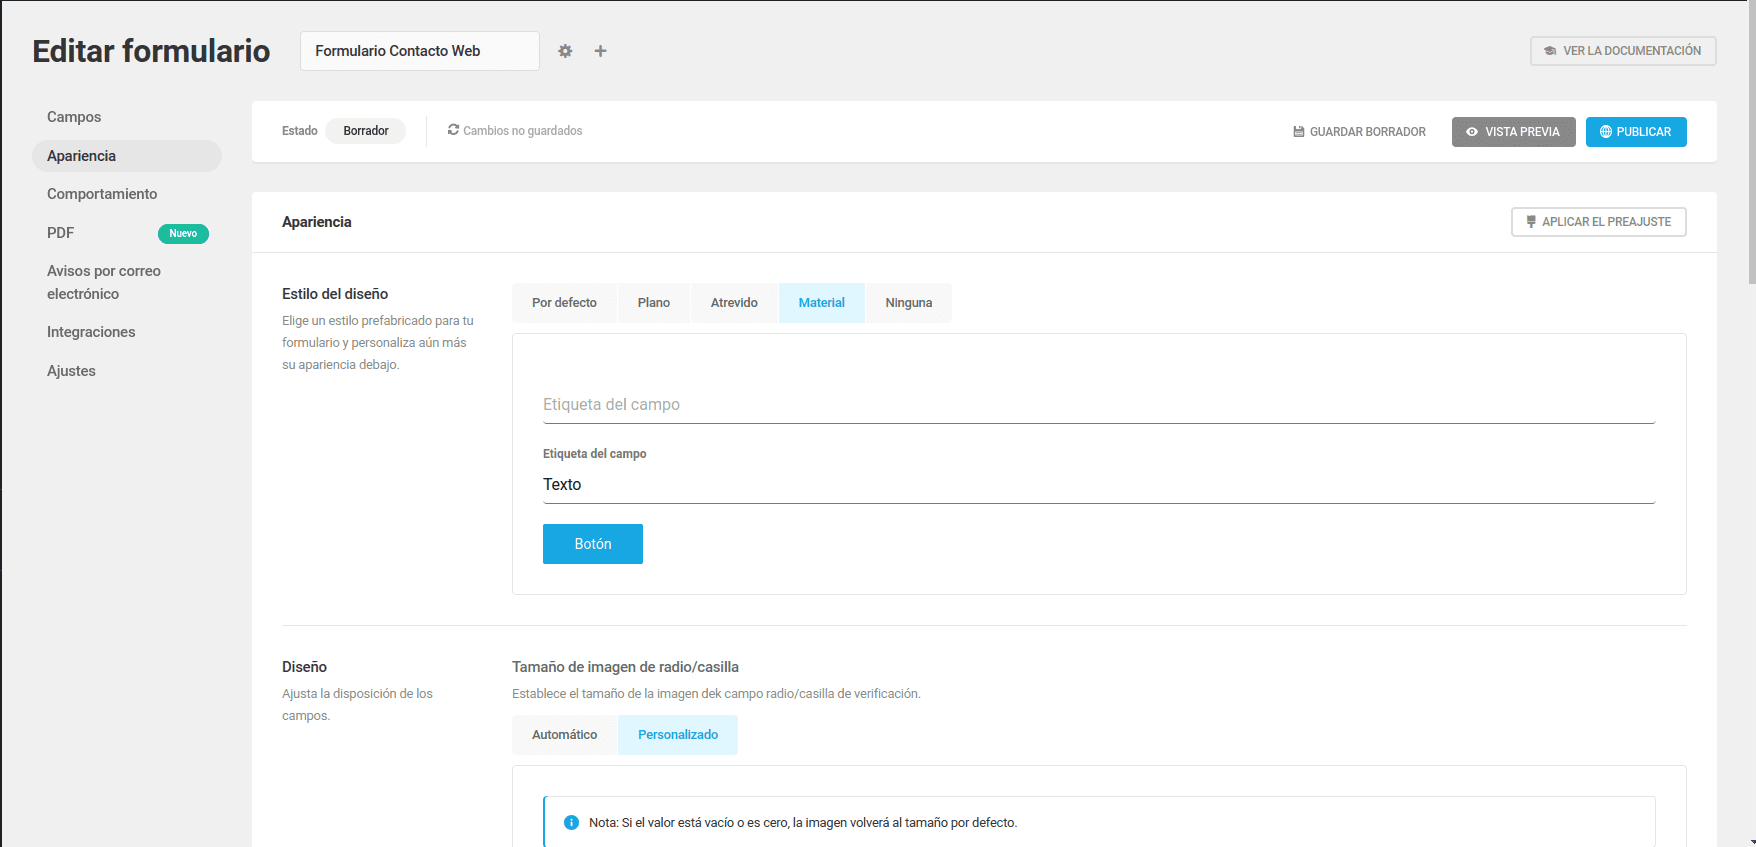
In Appearance, we can choose the design of our form, as well as modify the styles individually for each type of field: colors, fonts, animations, etc.
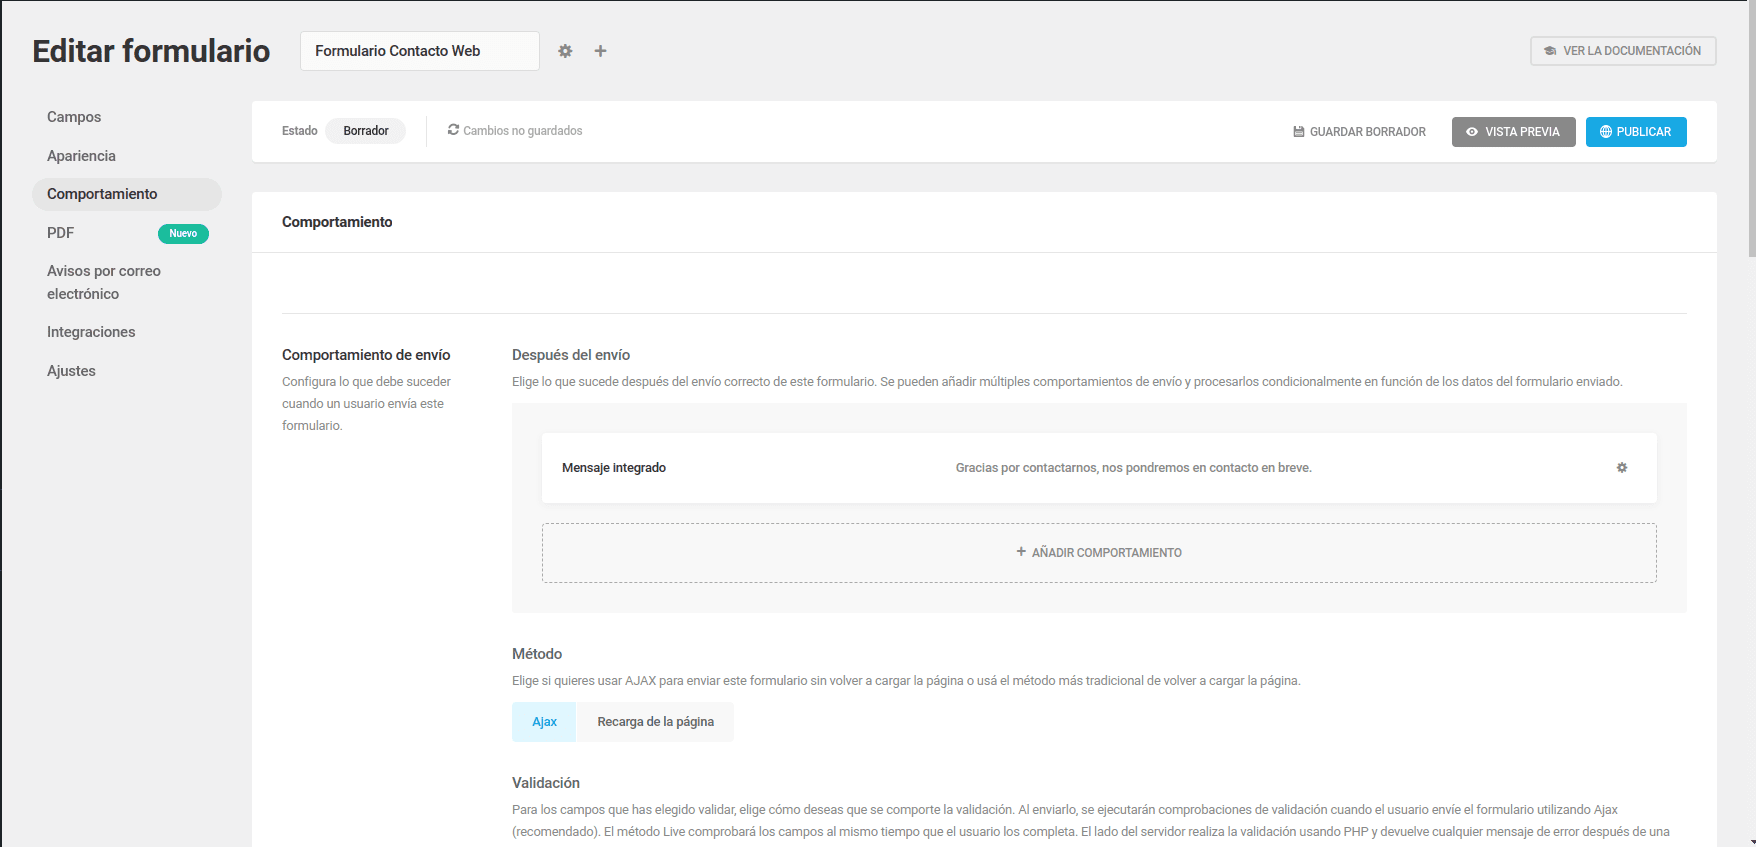
In Behavior, we will configure the actions that occur once the form is filled out and submitted correctly.
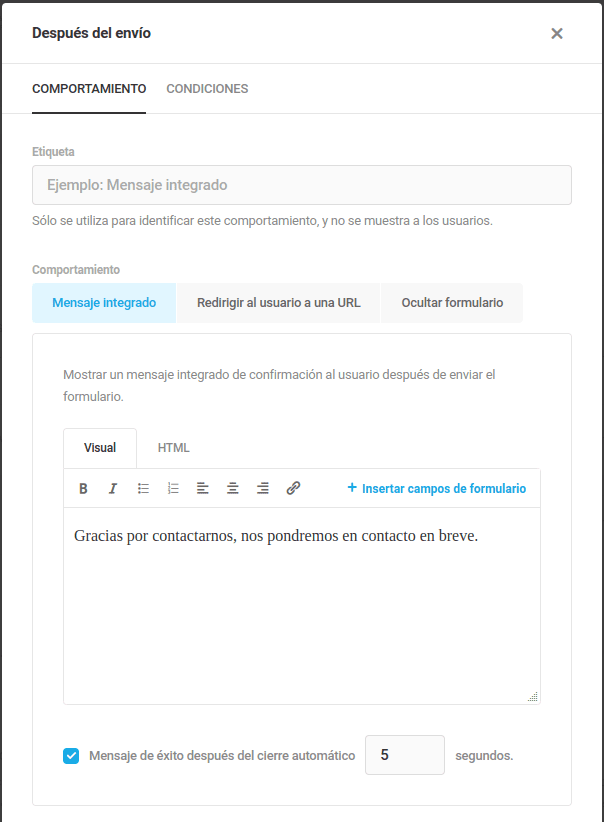
Integrated message: It’s a small message that appears below the form, which we can edit.
Redirect the user to a URL: We will be able to add a URL to a thank-you page or any other page we want after completing and submitting the form.
Hide form: It also shows us a confirmation message, but in this case, it hides the form.
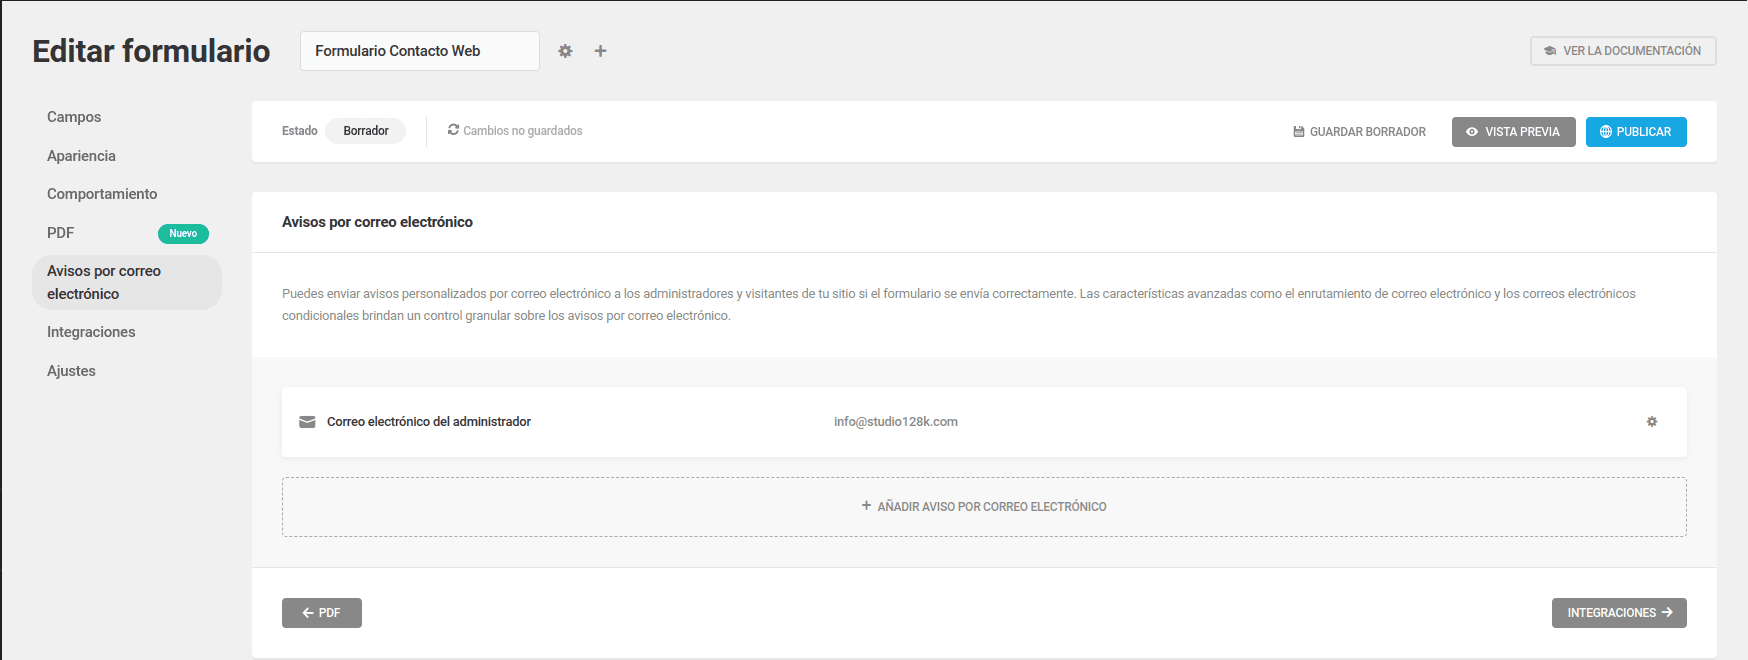
In Email Notifications, we will configure the notifications for the form that has been filled out. By default, it will only be sent to the site administrator, but we can modify it and even add other recipients.
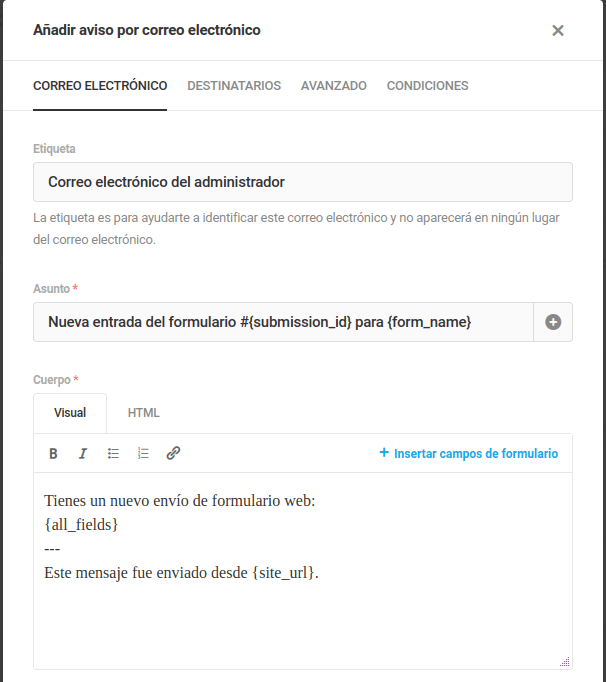
We click on the existing field to edit the response that comes to us as administrators. As we can see in the image below, we can edit:
EMAIL
Label: this name will only be seen by us, it helps us identify the field.
Subject: It is the text we want to receive in the Subject field of the email. As we can see in the image (by default), there are some variable fields that will add the ID (no.) of the form and the name. This information can be modified and variables can be added by clicking on the + symbol that appears to the right of the field.
Body: This is the message that we, as administrators, are going to receive. As we can see, it appears as plain text, without style, and with the variables that go between braces where we have {all_fields} -> All the fields of the form, and {site_url}-> the domain of our website. To give style and structure to this message, we are going to use mosaico.io, which is used to design an email graphically. When finished, we will download the HTML code and through a code editor, we will finalize the layout (we will remove the footer).
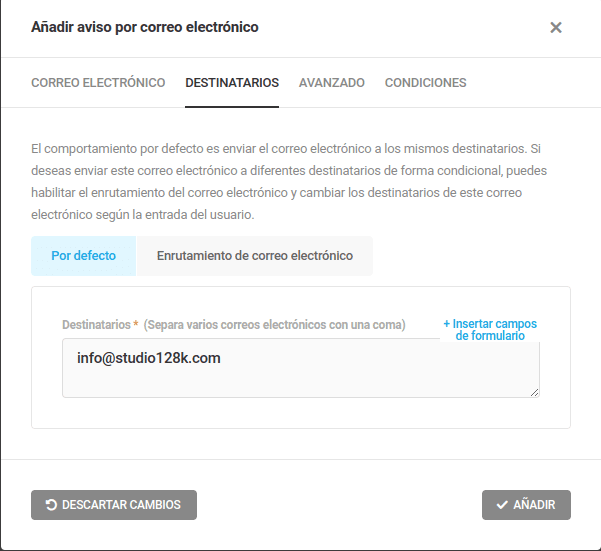
Another IMPORTANT tab is /Email Routing/. In this tab, we will be able to configure conditional recipients, meaning we can create a dropdown list with different fields, each field will have an assigned recipient, for example: Sales (ventas@____.com), Human Resources (rrhh@_____.com). It can also be configured with check fields, radio buttons, or with message content.
Extra:
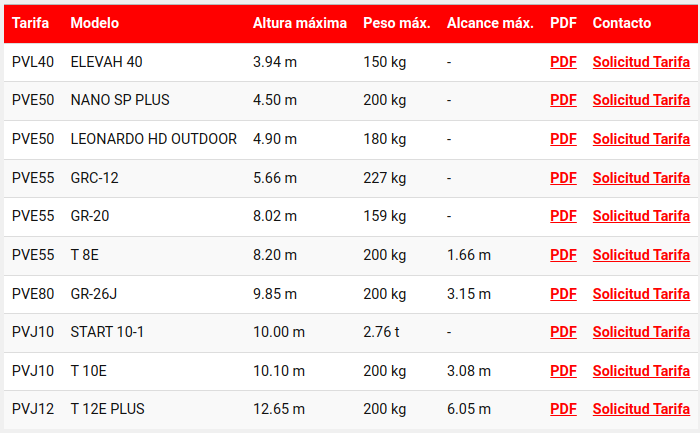
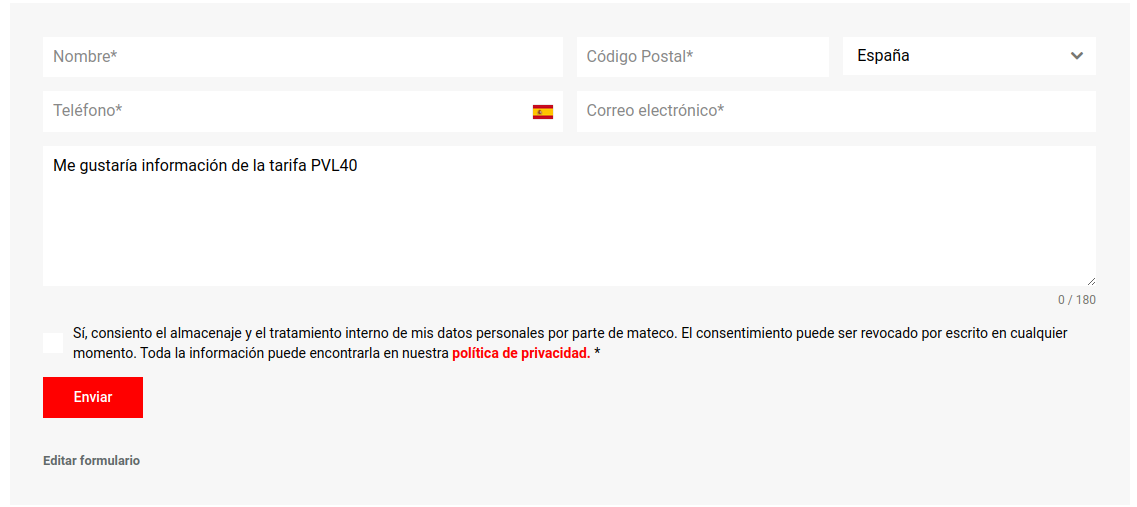
Real case with a client who has content in tables on WordPress with Tablepress and requests that the “Solicitud Tarifa” link leads to the /Contacto page where we have the main form.
The content of the message (textarea) should vary depending on which link was clicked, with information about the requested rate.
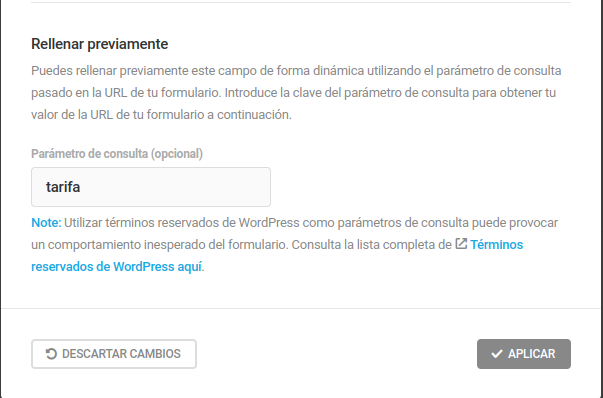
To do this, we will go to the Field Settings, and in the Pre-fill section, we will add the parameter that we will use in the link we create later. In this case, “rate”
Now we just need to add that parameter to the URL.
If the page where we have the contact form is dominio.com/contacto, the URL we will put in the link/button will be: dominio.com/contacto/?tarifa= I am interested in the PVL40 rate.
In this way, the form will obtain the rate content and include it in our text box, overwriting the existing content.